
Web-Controlled Thermostat
This project was inspired by a wish to save money on natural gas bills. The web-controlled thermostat allows users to control their home’s heating from anywhere they have an internet connection. With this freedom, users can lower the heat while away from home, reducing energy consumption and their bill.
Overview
The device houses a Raspberry Pi running a web server. Trusted users can interface with the website to toggle the heating system in their home. When users turn on the heat, the device makes “calls for heat” to keep the temperature within a user-specified range. Turning off the heat lowers the ambient temperature to 50-55 °F, a safe range to prevent pipes from freezing during the winter. The device uses a digital temperature sensor to measure the room’s temp, a relay to switch the thermostat wires to make calls for heat, and an LED to provide additional feedback to users.
This project is comparable to Google’s Nest Thermostat, but it is better for my application because, as a renter, I would rather have a cheaper portable solution. It also serves as a great learning experience.
Design Process
The main goal of this project was simple: be able to control my home’s heating from anywhere. I spent the first week investigating how to accomplish this. I learned that by hosting a web server on a Raspberry Pi, I could control the thermostat anywhere I had an internet connection. I also learned that thermostats are generally quite simple devices. At the heart, all they do is measure temperature, and connect/disconnect wires leading from the furnace depending on the temperature. This is the circuit I came up with:
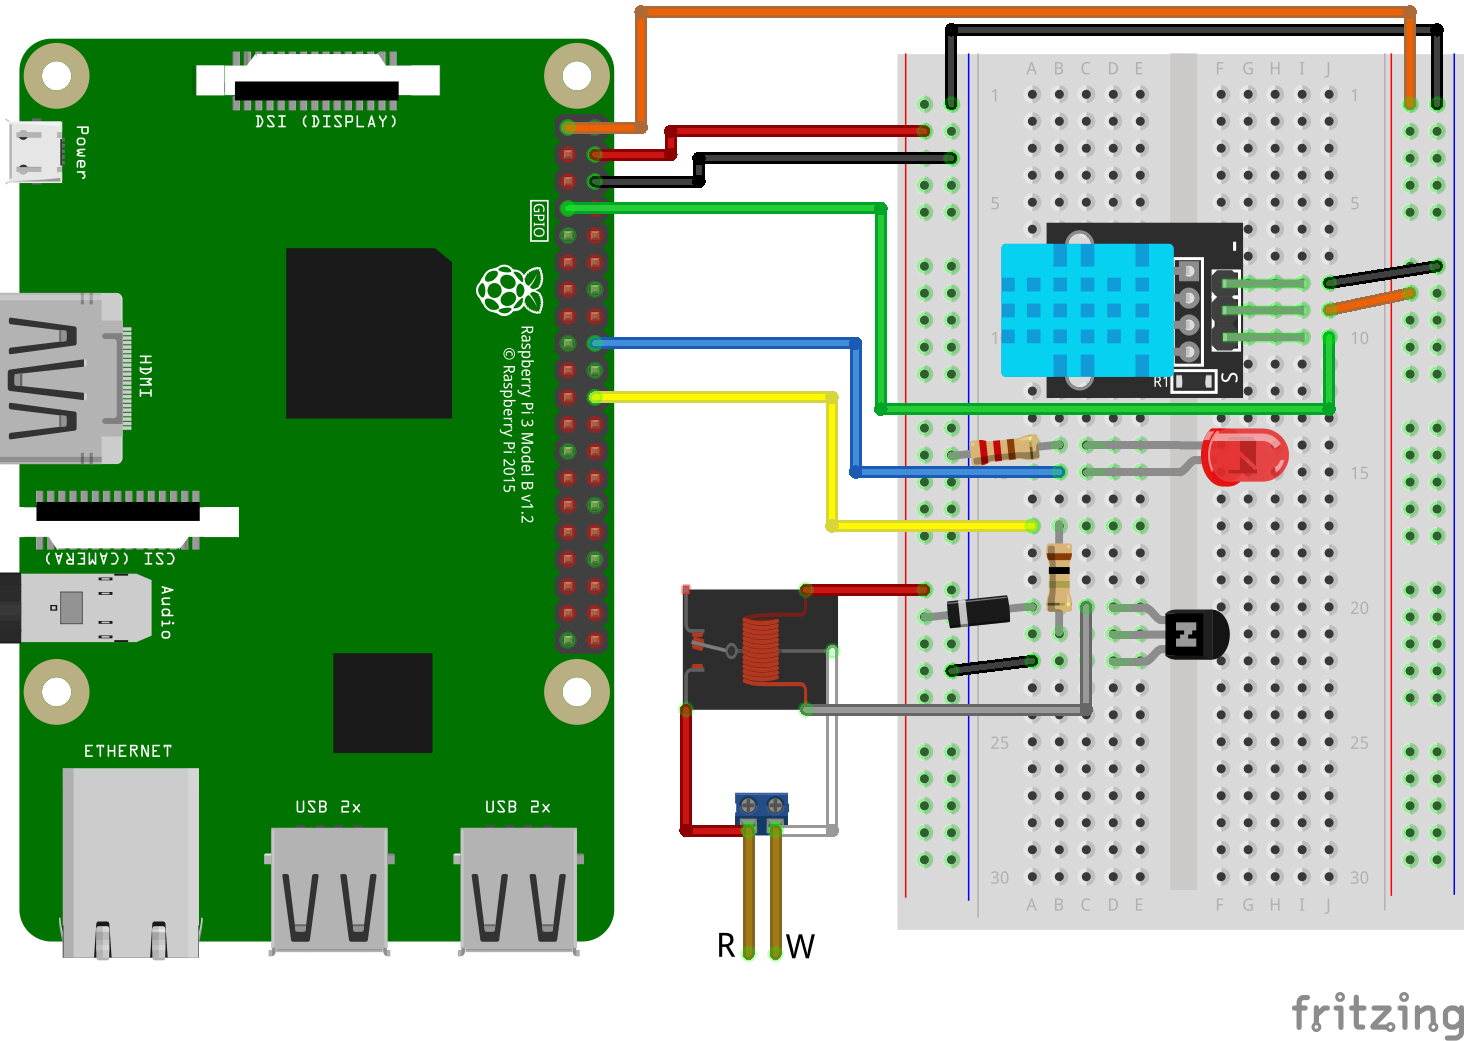
A 5-volt relay is used to connect/disconnect the 24-volt AC wires running between the furnace and thermostat. Since the Pi uses 3.3-volt logic, an NPN transistor is used as a means of switching on/off the relay. When the temperature, measured by the DHT11 module, falls below the user-specified range, the Pi sends a signal to the base of the transistor, letting current pass from the collector to the emitter, switching on the relay, making a call for heat.
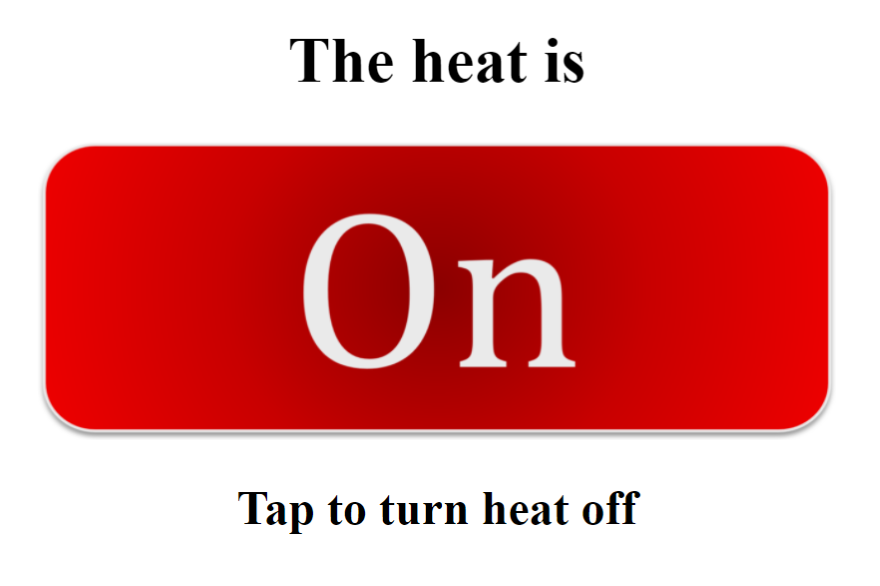
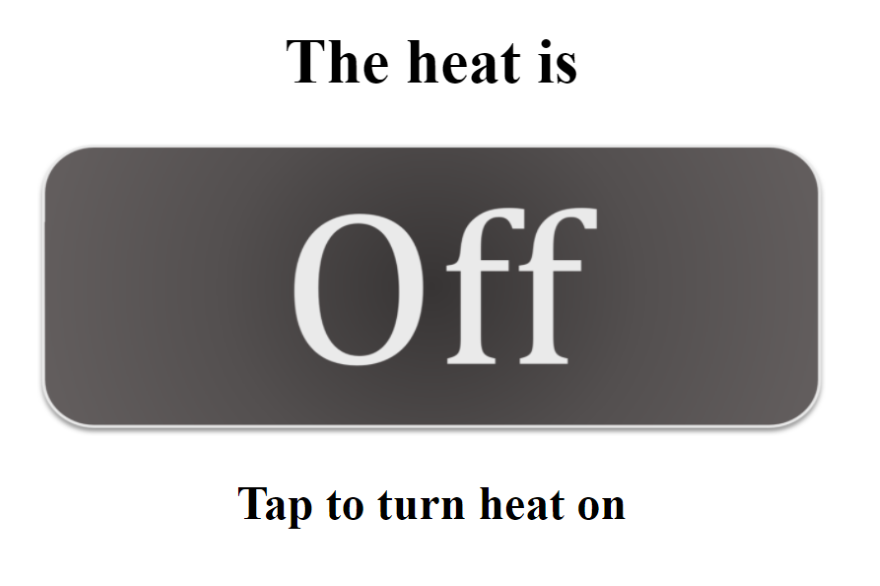
I used Flask to build the web server. The website can be seen below.
The final step needed to launch the project to the internet full-time is adding security. I plan on learning more about securing the device and implementing a solution soon. This project has been a great learning experience and has already made heating my home more convenient.
See my GitHub repository here.